creative Collaborator Project
question
For this project, my group had to use a combination of 3D printing and laser cutting to create a product for our client. Our position was "Creative Collaborator" which meant that the client has an idea for a product that they want, but are not totally sure how to make it and are open to creative suggestions.
brainstorm
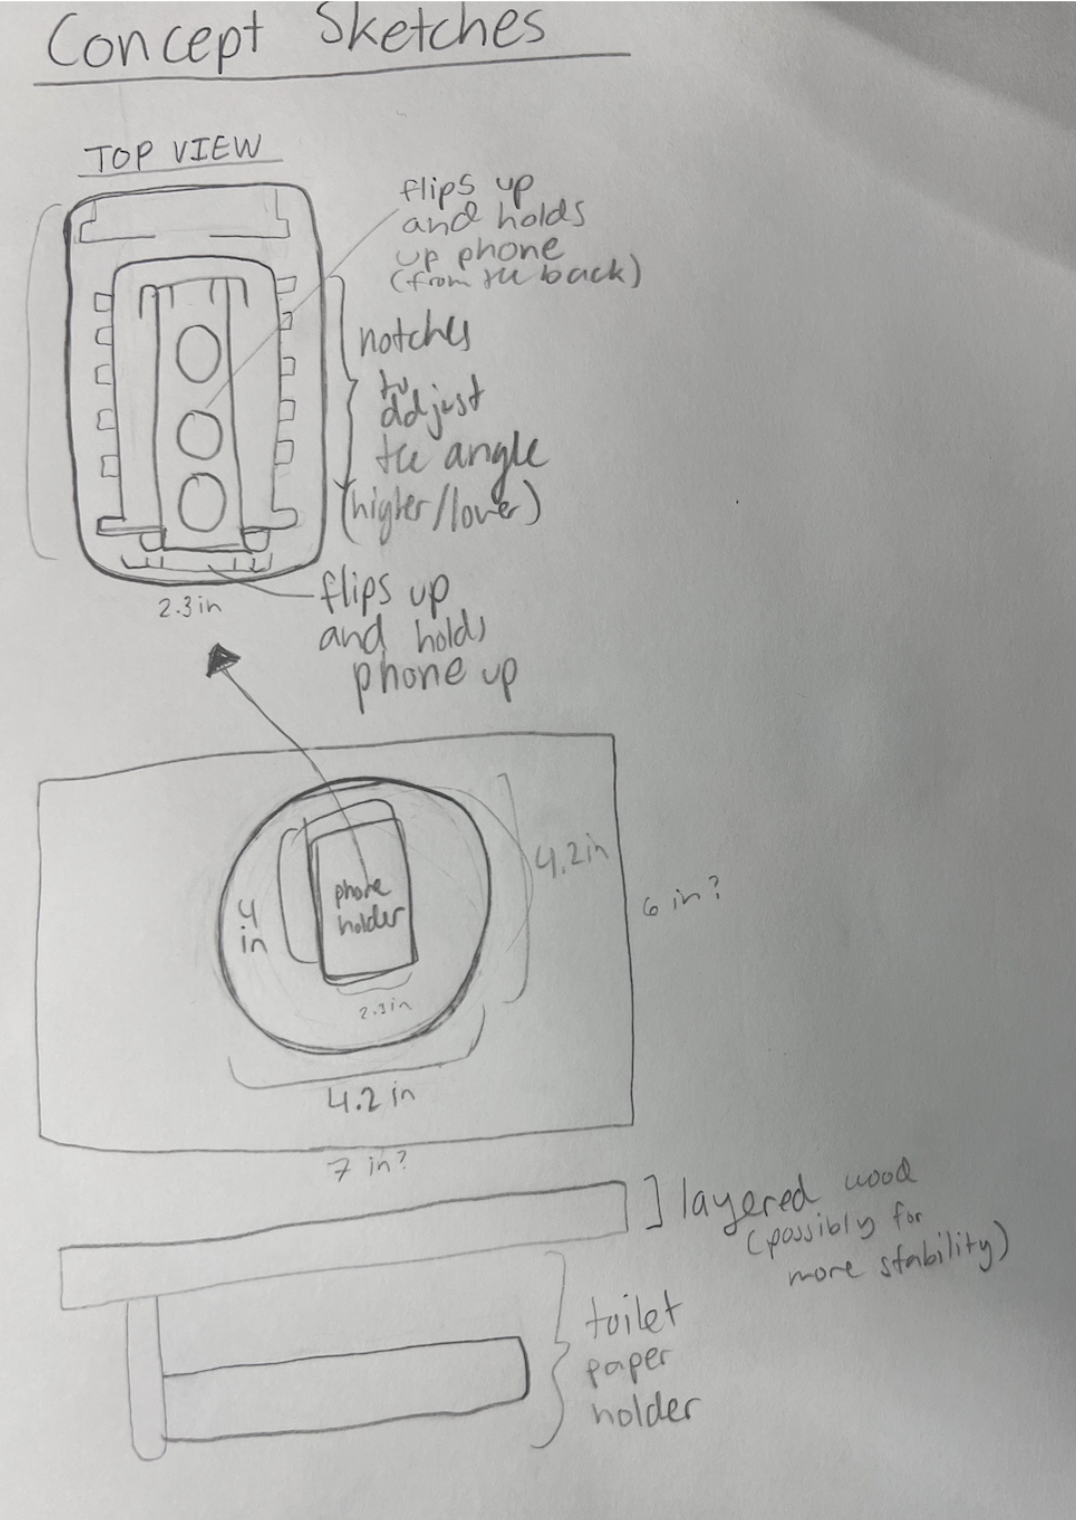
Our client was Jason, and the first step was to interview him to get more information on what the product was supposed to be like. The key takeaway from the interview was that he wanted a combination of a toilet paper holder and a phone holder, which will hang on the wall next to a toilet. He doesn’t have a very clear idea, but the general functions are that it can hold one roll of toilet paper at a time, and he wants it to be able to hold either his Pixel 6 phone or his wife’s iPhone 9 securely. The phone holder part should be adjustable so my client can either have the phone be horizontal or vertical, and preferably held at different angles as well. The functionality is more important to my client than the visual aspect (whether it looks good or not), but it would also be great to make it visually pleasing. This design will accommodate the two different phone sizes (Pixel 6 and Iphone 9), and also the standard toilet paper size, which is 4 in x 4.5 in.
plan & Design
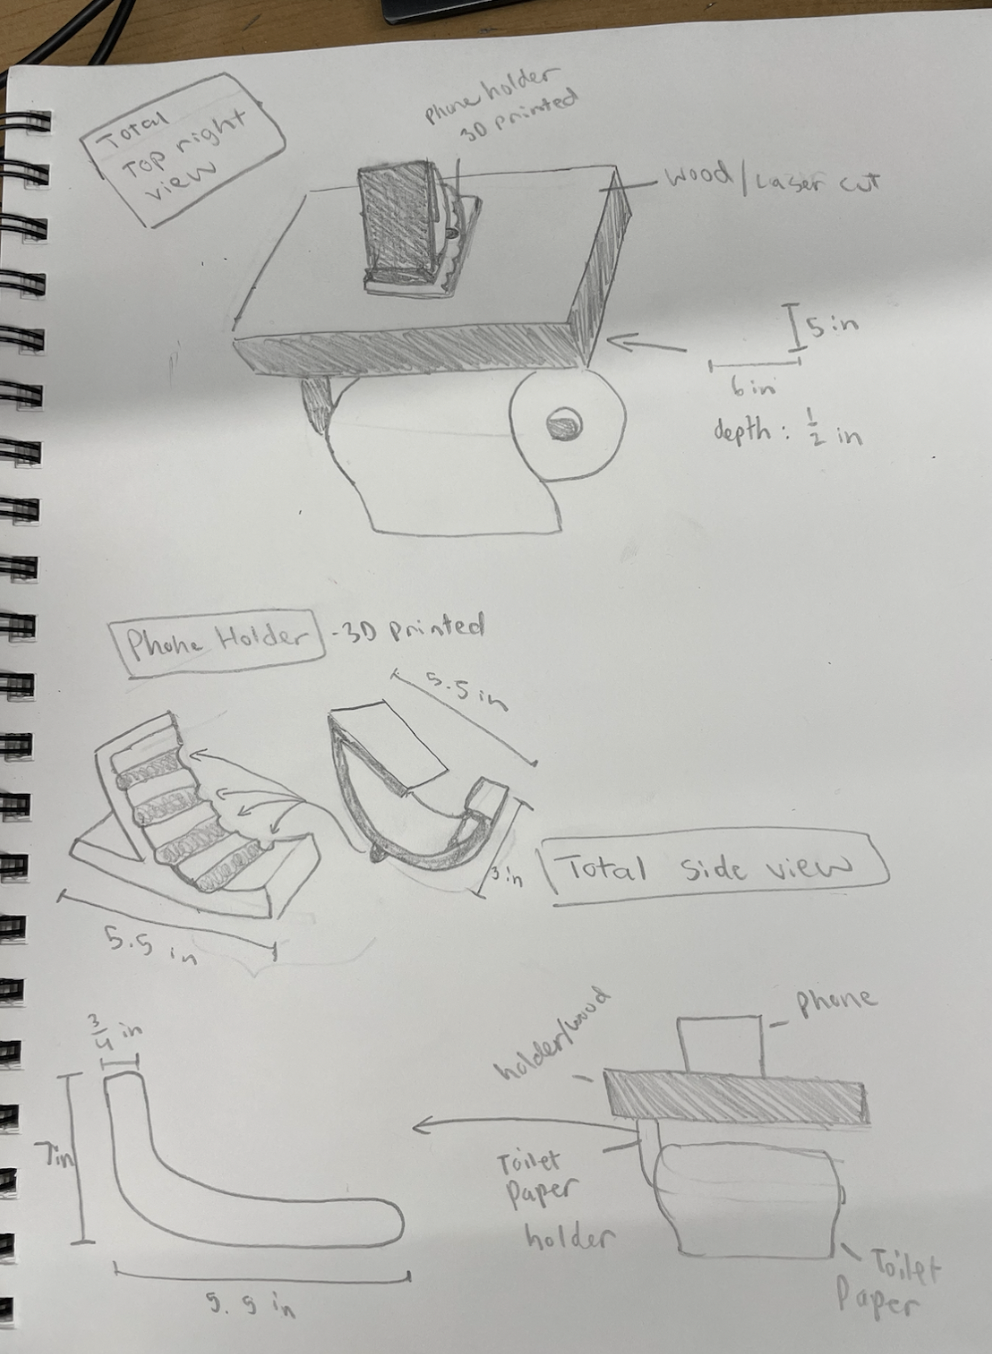
After I made my product proposal, we got into groups of three to work on a final design. My group included Sophia, Julen, and me. We combined our design ideas to create a final proposal. The plan was to design a holder that could store one roll of toilet paper underneath and hold a phone on top that could rotate and be angled both upward and downward.
buIld & Create
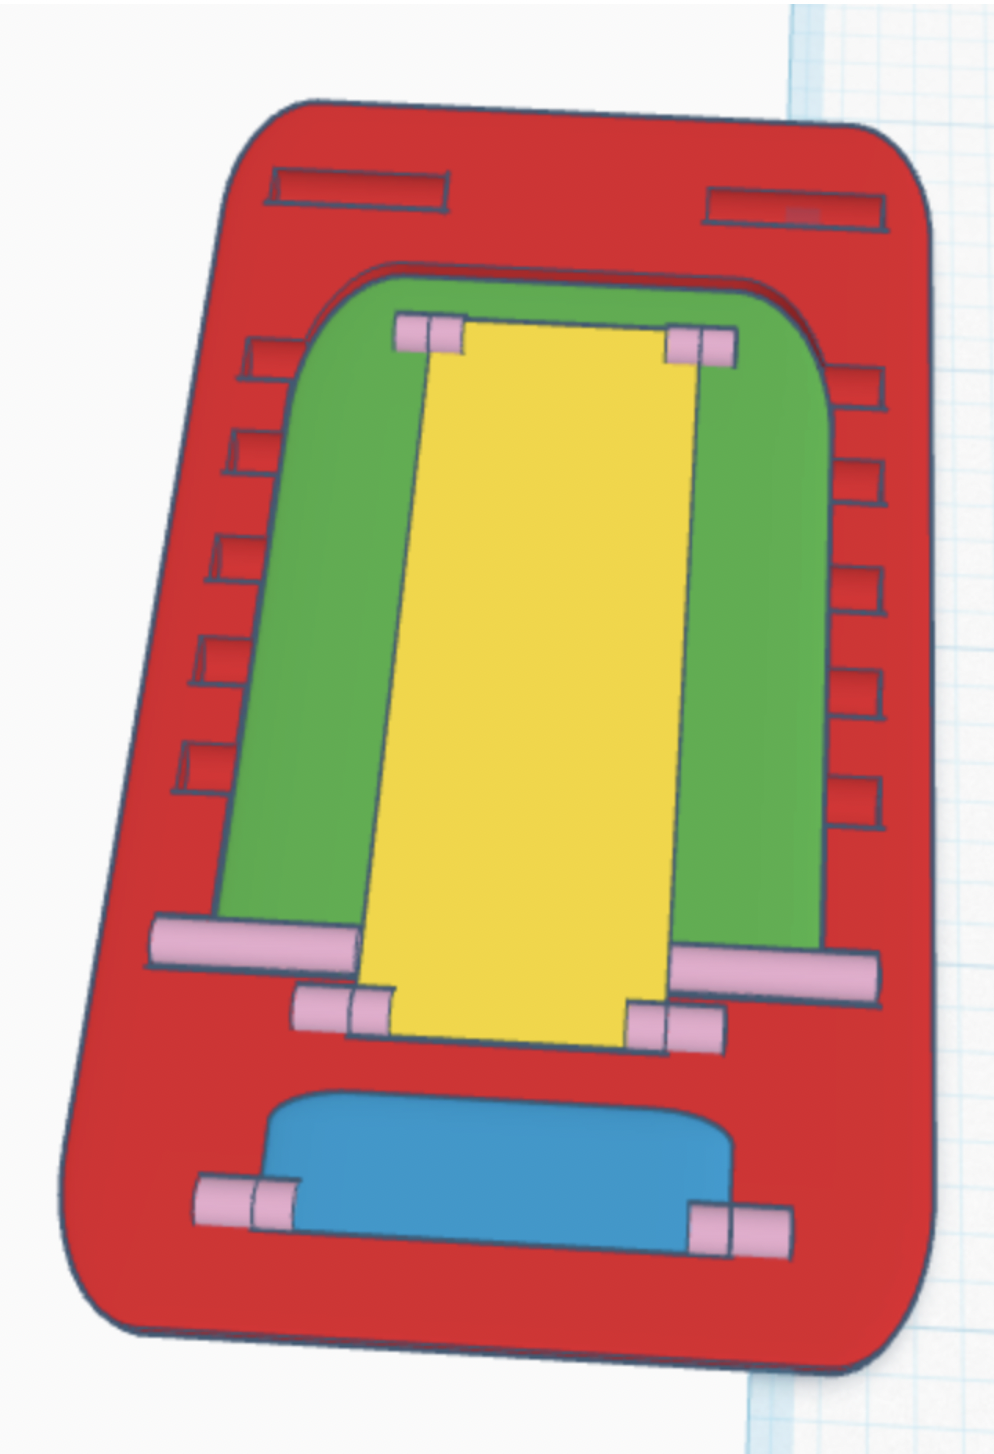
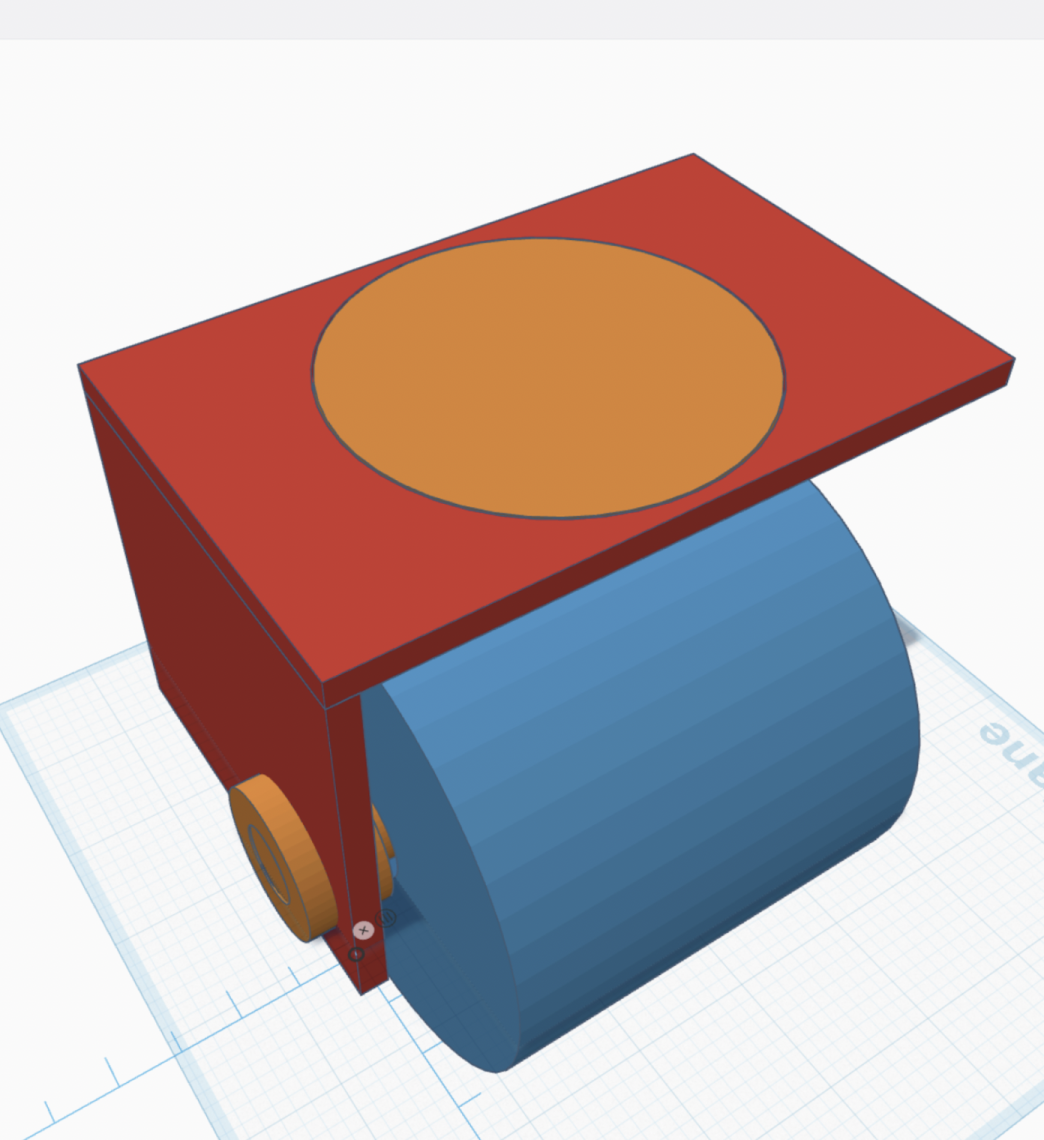
After sketching our product, we started designing in Adobe Illustrator and TinkerCAD. Julen worked on the Adobe Illustrator part for laser cutting, which was the base part of the holder. I worked on that part as well, and on the actual phone holder part with Sophia. We worked on designing the phone holder part as a print in place from basic shapes. We also created everything in TinkerCAD just to see how it could all fit together, but we ended up laser cutting everything except the phone holder and toilet paper stick, which we 3D printed.

test & analyze
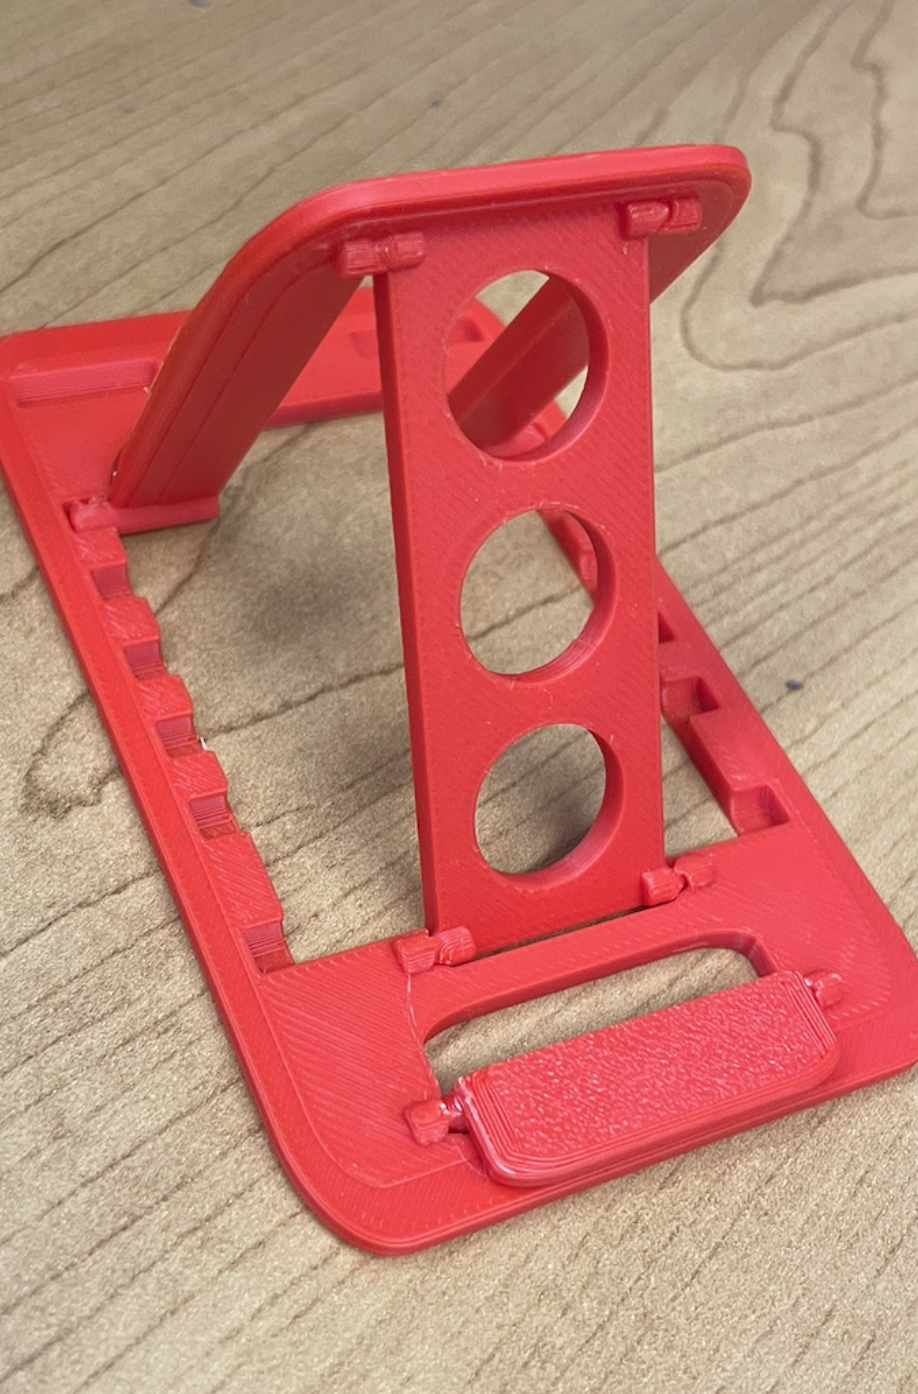


- (Red print) After our first test print, we came up with a few changes to make. First, we decided it needed to be a little bigger so that it could hold the phone better, and also so that it would be a little more stable. We also found that some of the joints were not very clean or got stuck and we had to break it loose, so we need to fix this as well. Also, the smallest rectangle part we need to fix so that it can stand straight to hold the phone from falling as well.
- (White print) After the second print, we fixed the issue with the small rectangle at the bottom holding the phone up. We did this by moving the joints more downwards. Then, we also made the whole print longer, hoping to make it more stable, but it just made it less secure because it changed everything slightly. All of the joints worked, but one of them was stiffer than we liked. So, we went back and changed the length of the whole design to what it was before, and fixed the joint. We also realized once we glue this to the wood, it will be hard to open the bottom rectangle piece, so we also added a little knob so its easier to pull open.
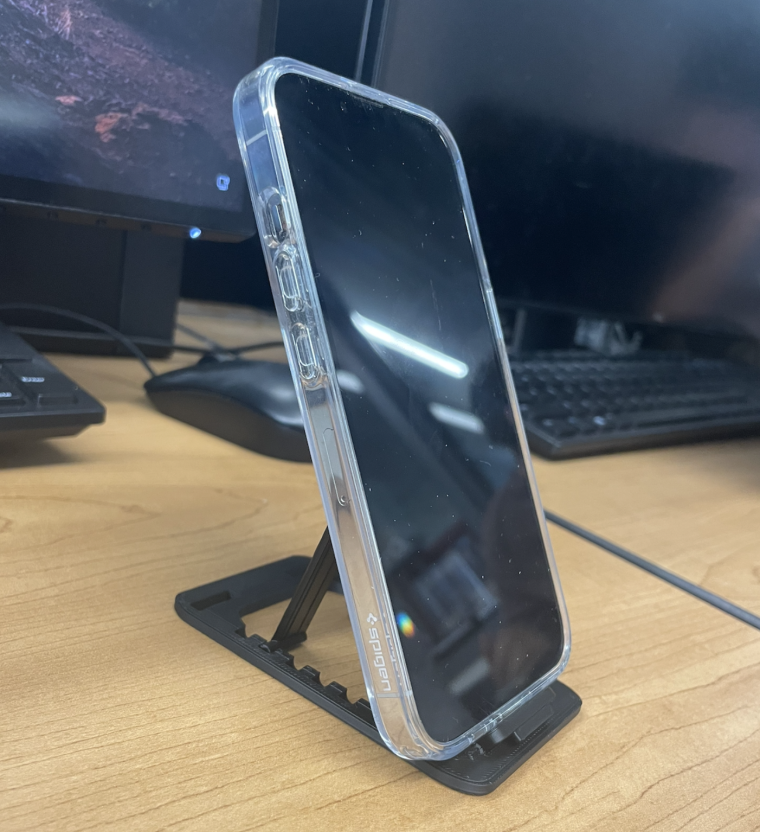
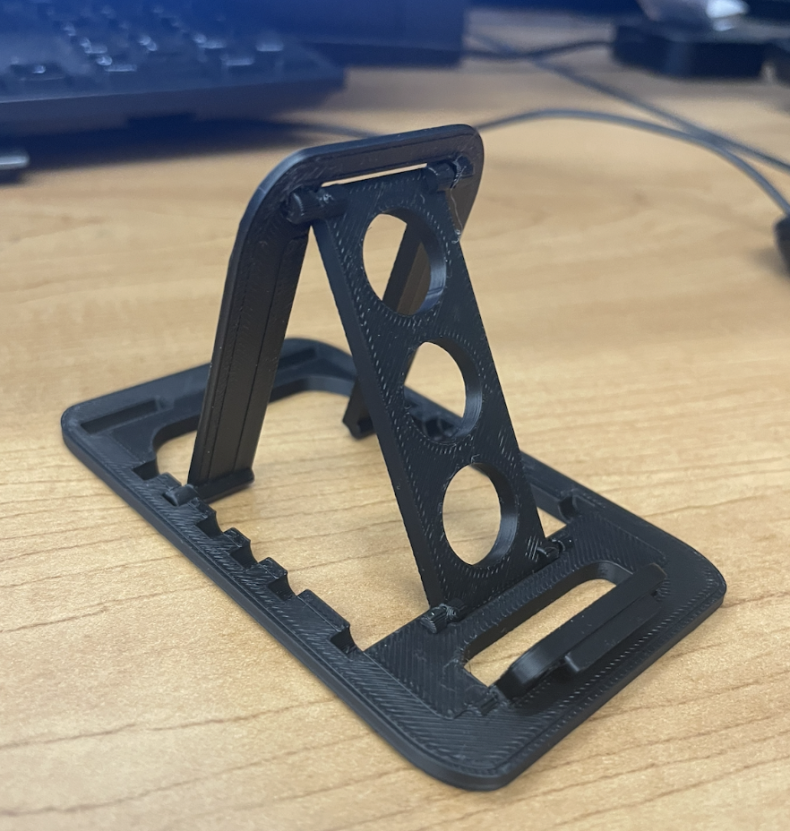
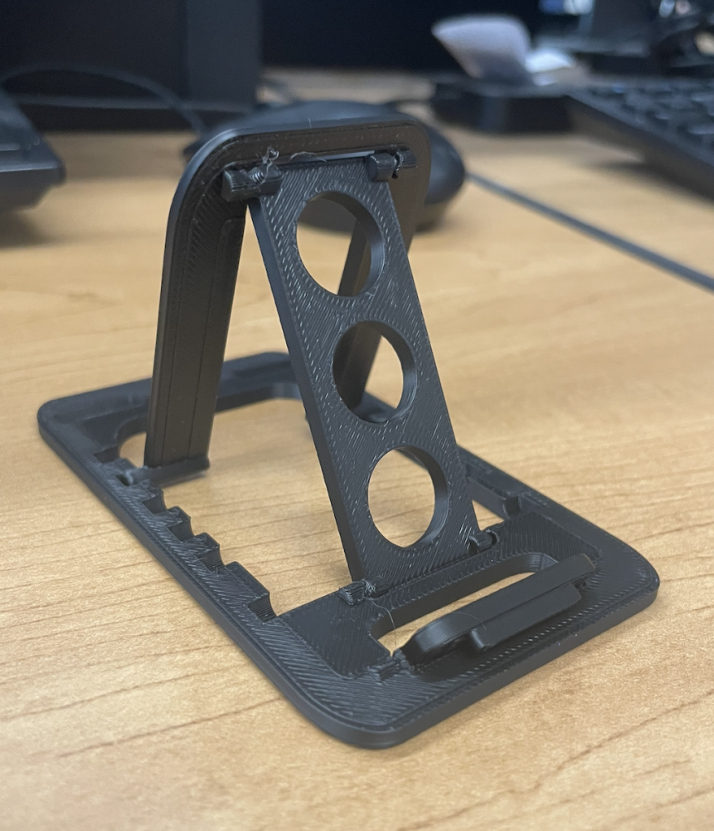
- (Black print) After the third print, by making the joints a little bigger, we were able to fix the movement problem. The bigger joints made it flow a lot smoother and it felt a lot more stable as well. While this was all good, we realized that we could probably fix the joint on the small rectangle at the bottom to be bigger so that it could flow more smoothly as well.
- (Next black print) After the fourth print, all the joints were fixed. We tested everything again, and we didn't find any issues with it, so this was our final print for the phone holder part.
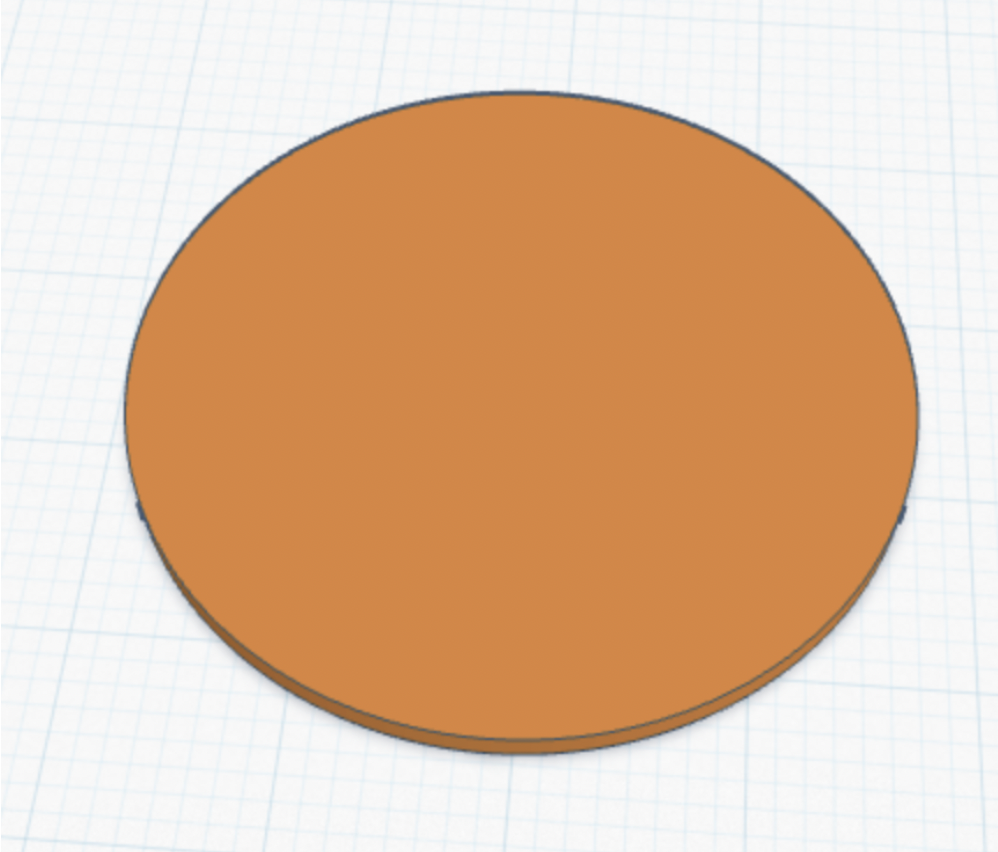
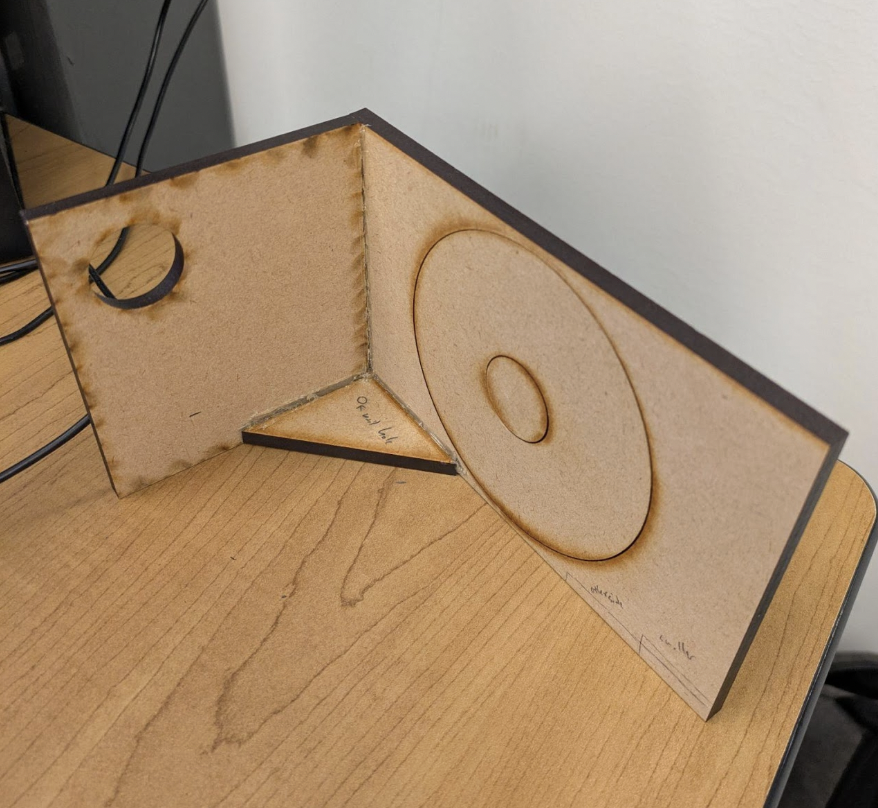
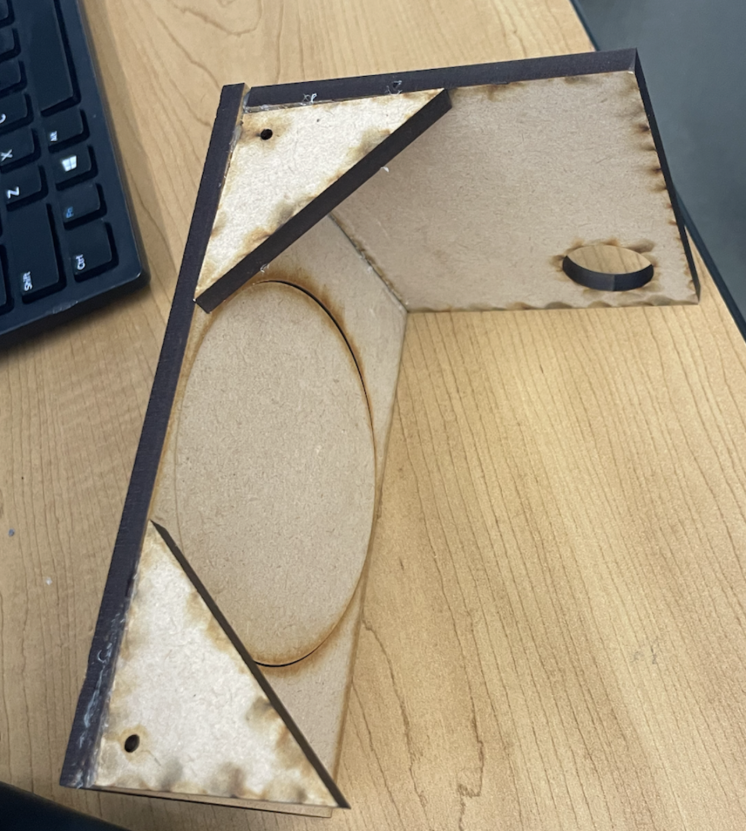
- For the base of the toilet paper holder, the first iteration was pretty good, but it needed more supports in the corners so that it could support more weight and be more stable. The circle part also needed to be fixed because we needed to be able to rotate it with the phone holder attached.
- After the second iteration, it worked pretty well. It was much more stable, and the circle part was more moveable as well.
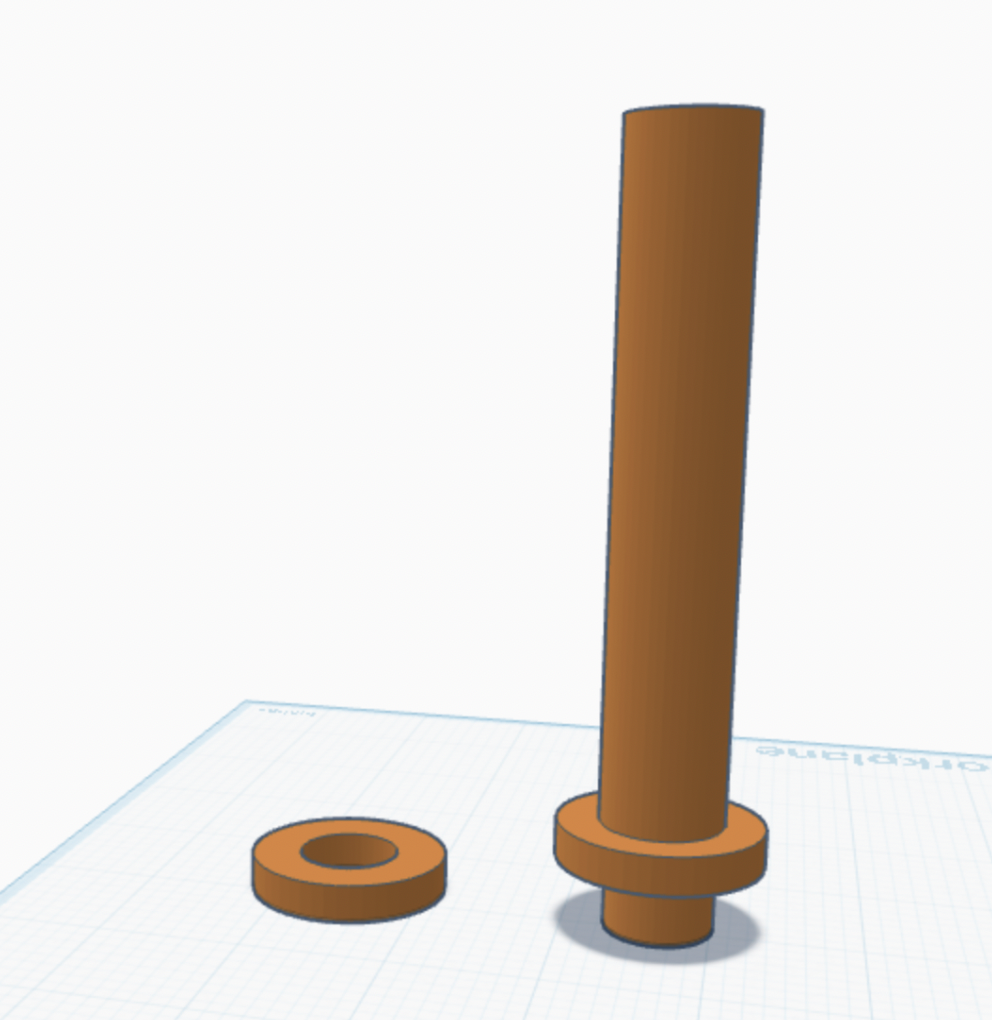
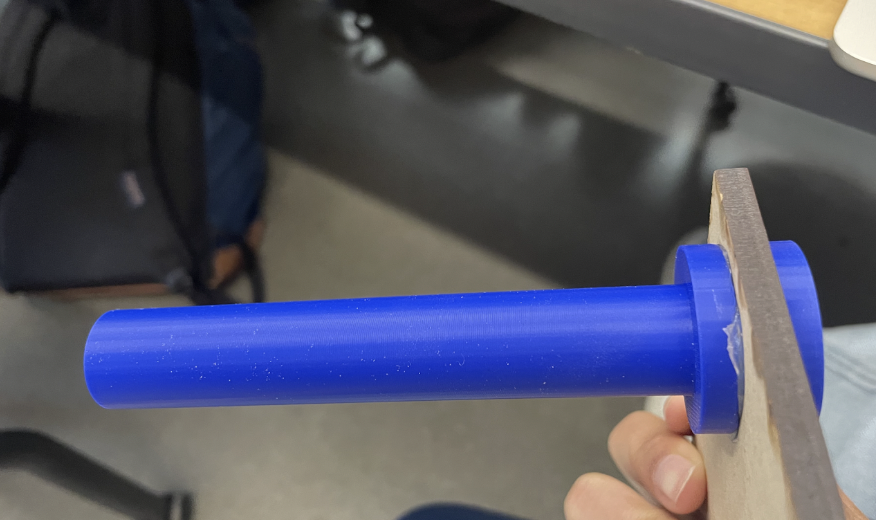
- The toilet paper roll holder was pretty easy to design and print, so it was successful on the first try.
final product
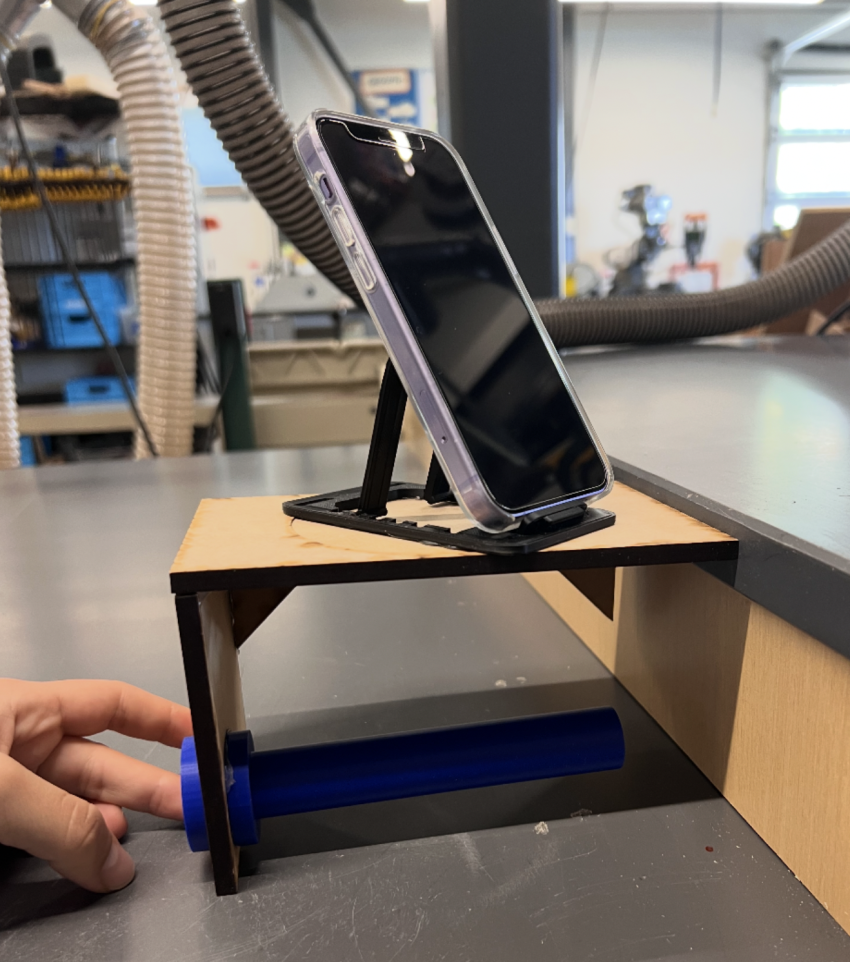
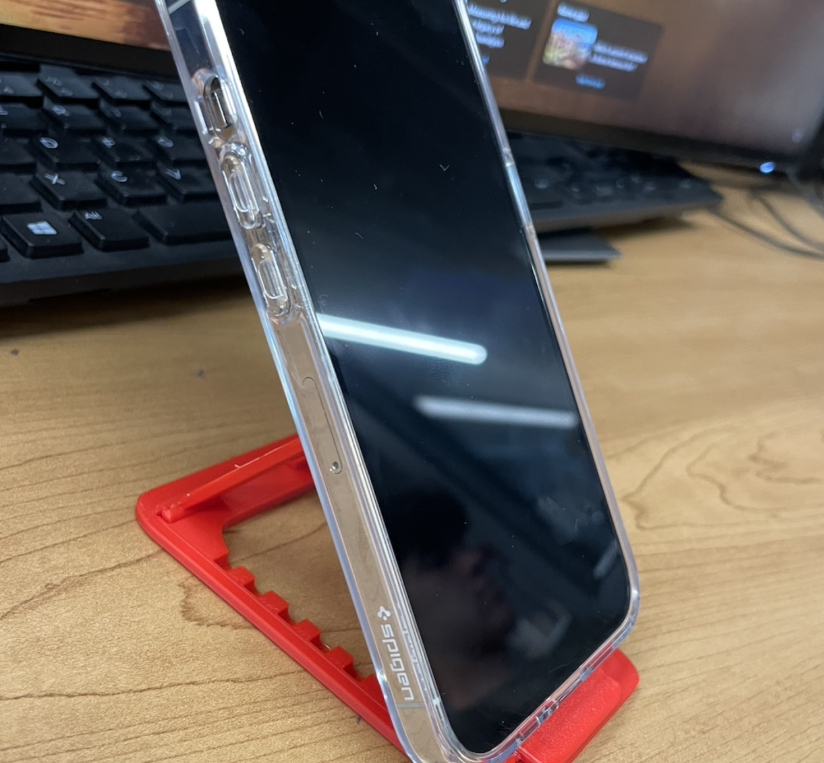
Overall, this project turned out pretty successful. After many iterations, we finally got everything to fit and work well together. The circle part where the phone holder is glued to is turnable, which makes it really cool since a phone can be angled and turned in any direction. The toilet paper roll holder can easily hold a roll of toilet paper securely as well. This design is also able to be hung on a wall like its intended purpose.
Our client is very satisfied with this product and he is very glad to see what we were able to create. If we had more time to work on this product, we would maybe add a stain to the wood to make it more aesthetically pleasing and try to hide all the laser cut stains. We also might add a stopper to the toilet paper holder so it won't fall off, but this part is also not really necessary.