intro to 3D printing project
question
For this project, we were introduced to the 3D printer. First we learned about 3D printing basics, and then we had to come up with our own design on either TinkerCAD or Fusion360 (I ended up using TinkerCAD) within the constraints of a 3" x 3" x 3" volume that we would print using the 3D printer.
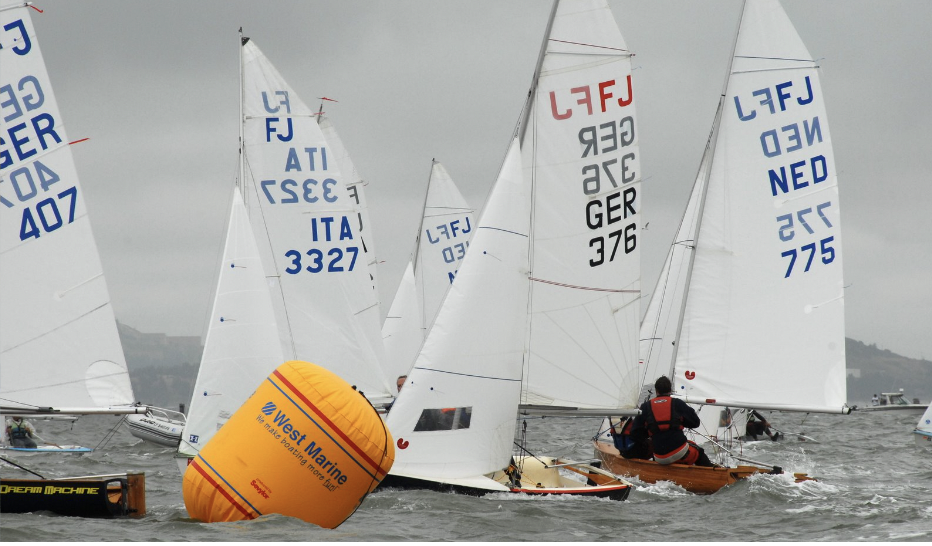
brainstorm
For my brainstorm, I looked up images of various objects I could 3D print as a beginner. After looking at some 3D models, I decided to create a sailboat similar to the ones seen below.
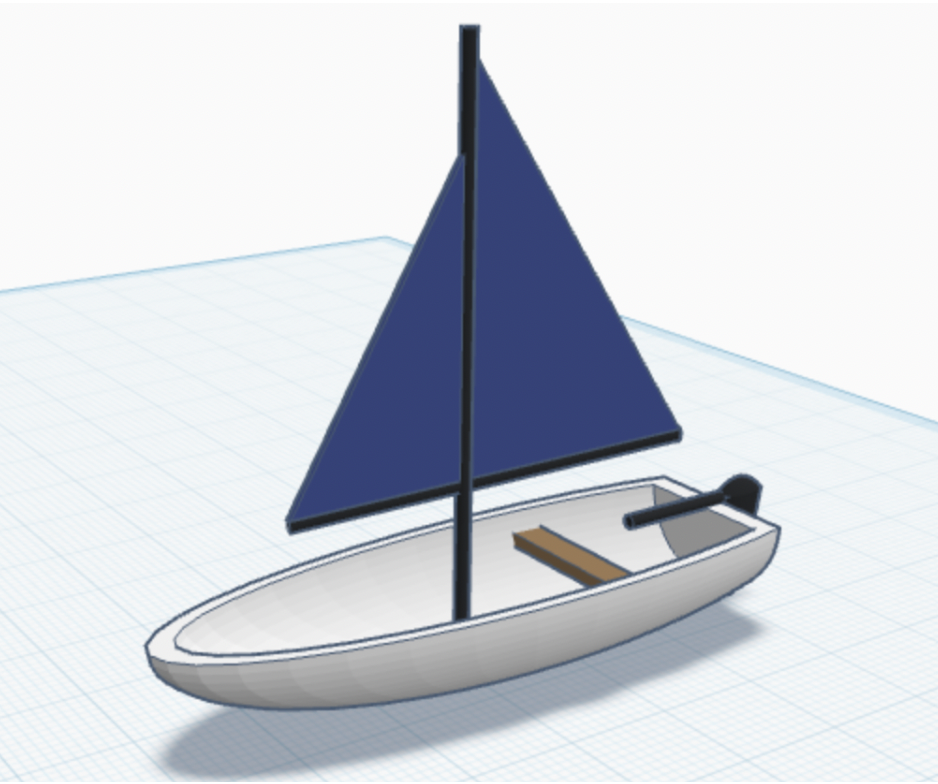
plan & Design
This is my design in TinkerCAD. Initially, I had to modify it because the original version was too detailed for the intended scale. To address this, I scaled it down and simplified the design. Additionally, I had to make the sail thicker, since the first iteration was too thin and didn’t fill in properly.

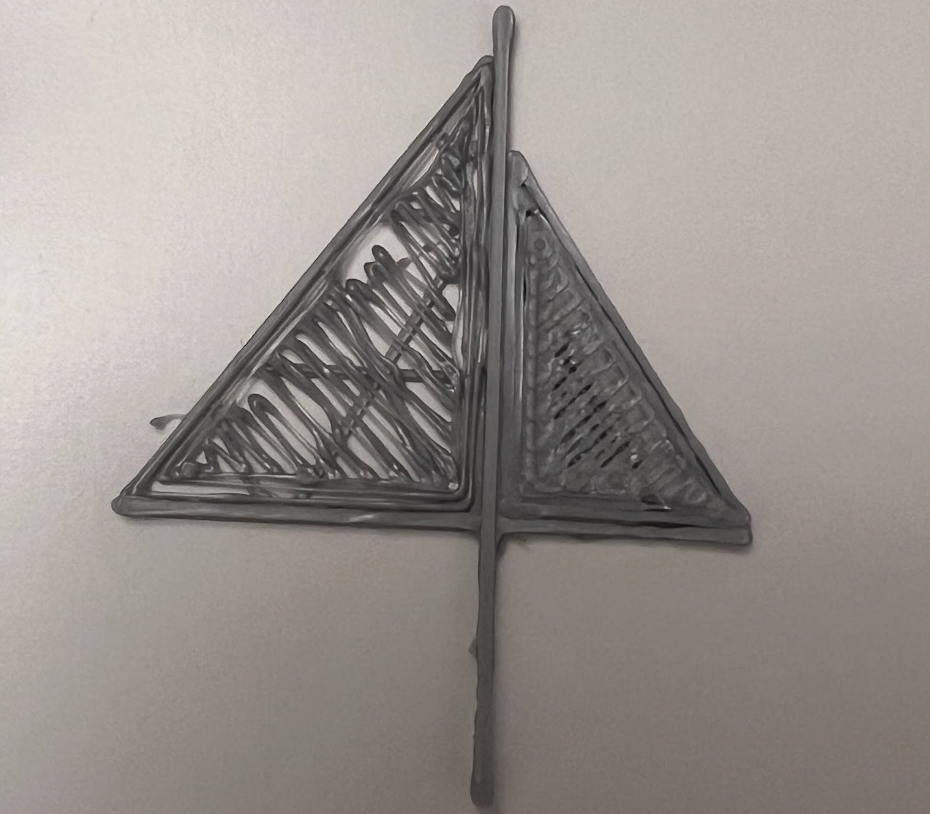
iteration
After designing, I moved onto 3D printing. I downloaded my print, and put it onto Cura, corrected the settings, and printed.
I went through several iterations initially because the sail appeared too thin in the CAD design, resulting in incomplete filling. To fix this, I revisited the design and made the sail thicker to ensure a more solid print. The boat, on the other hand, was printed perfectly on the first attempt, requiring no adjustments.
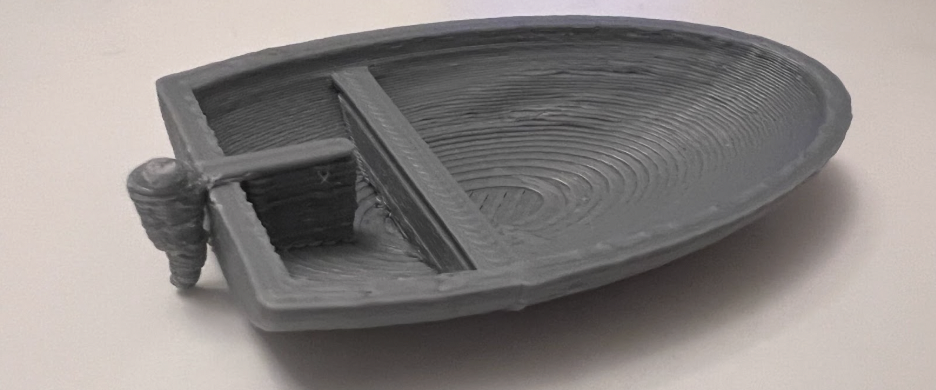
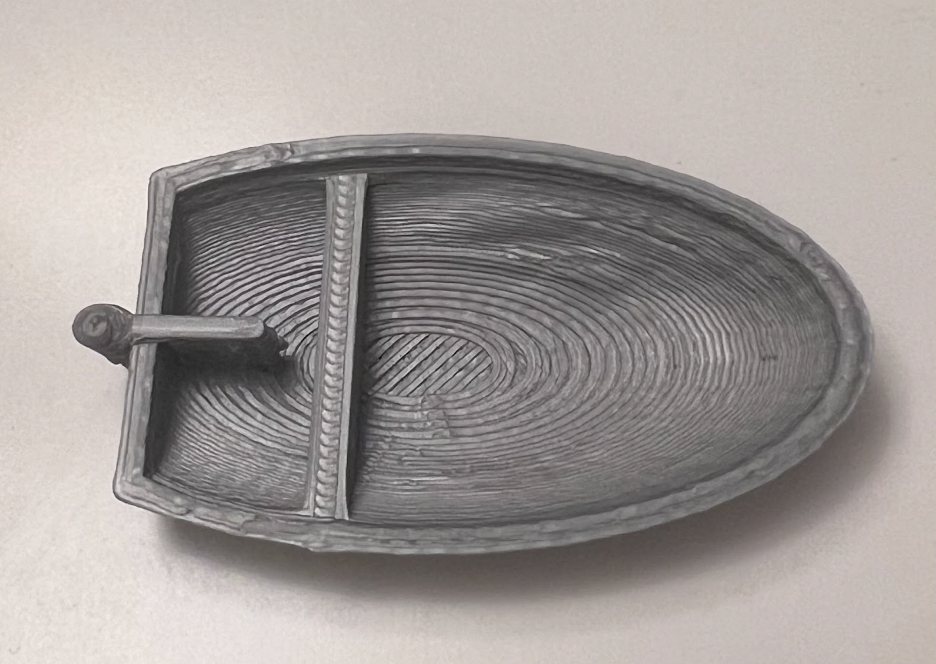
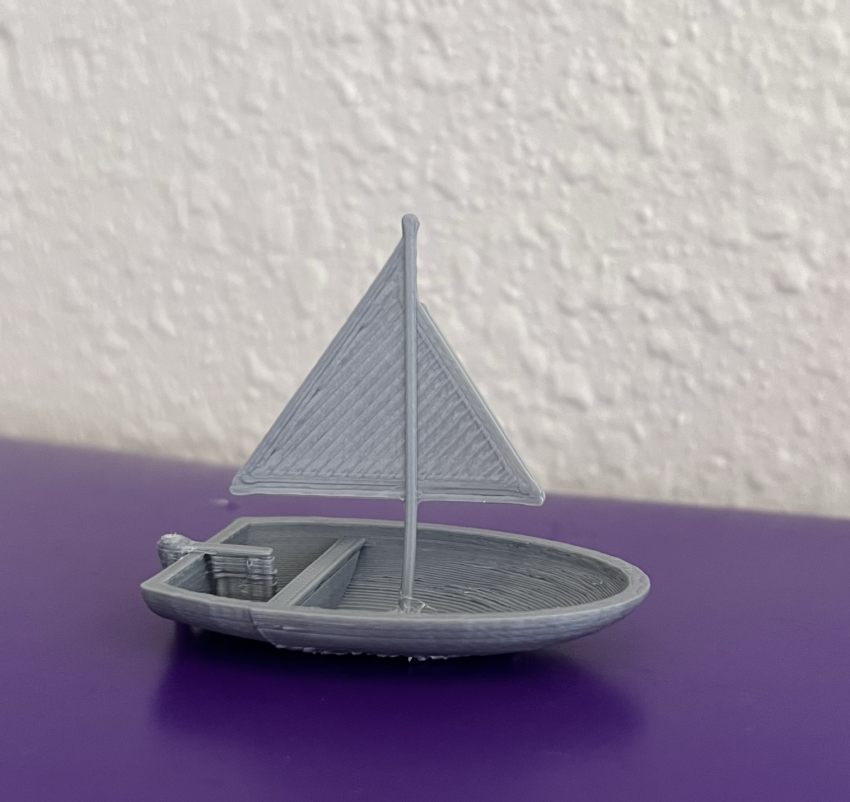
final product
This is my final product and being my first 3D print that I designed myself, I am proud of it. I had to redesign my sail at least three times over the course of this project and reevaluate my design every time I printed a new iteration of the sail. This process required me to consider factors of thickness and structural integrity, as well as adjusting the design to prevent gaps and printing errors within the Bambu slicing software. Each revision strengthened my understanding of design thinking process and improved the final result of my sailboat.